| |
 |
|
|
| |
|
 |
SELECT
ANY OF START HERE CHANNELS FOR A GUIDED TOUR
OF THE COLLEGE WEBSITE |
| |
|
| |
|
|
| |
|
|
 |
|
| |
|
| |
|
| |
| |
|
| |
National Institute of Technical Teachers Training and Research, Chandigarh |
| |
March 14, 2016 March 18, 2016 |
| |
|
| |
|
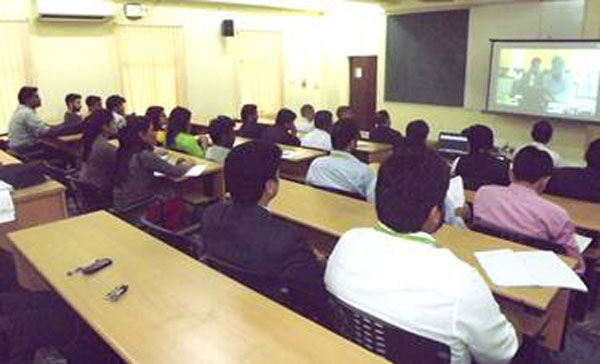
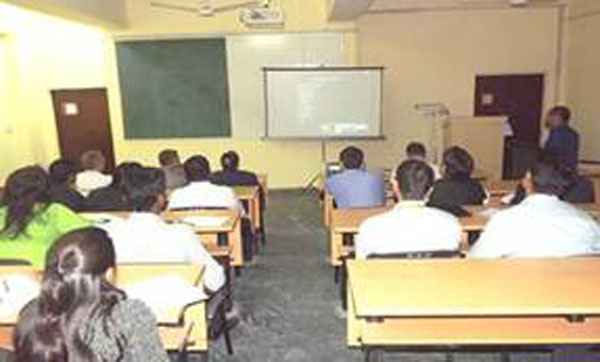
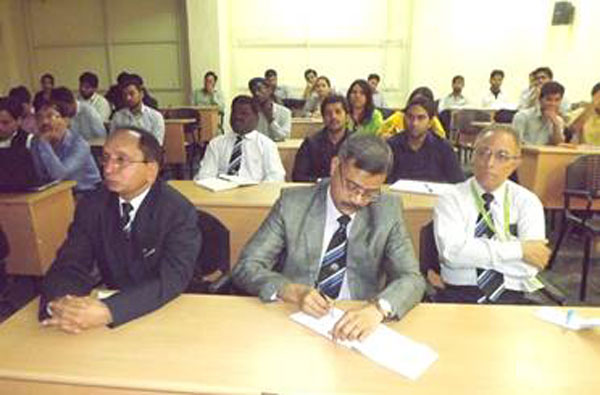
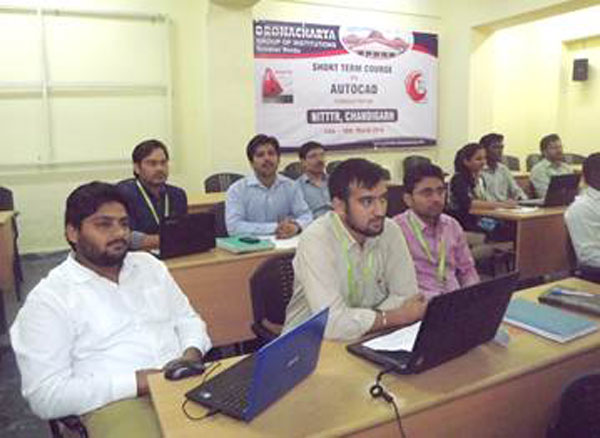
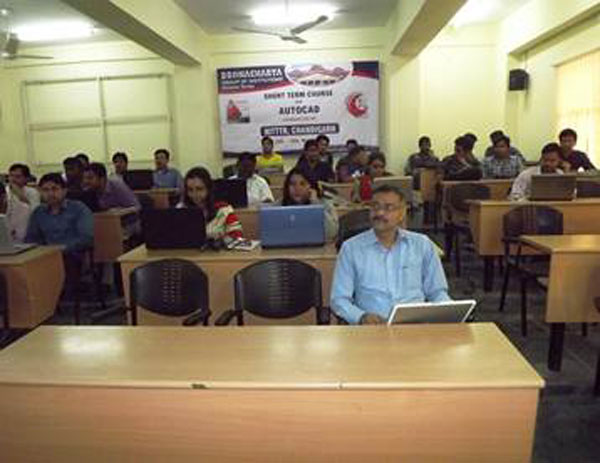
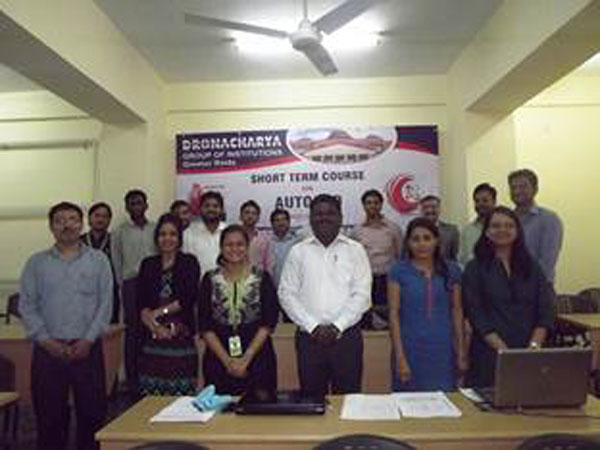
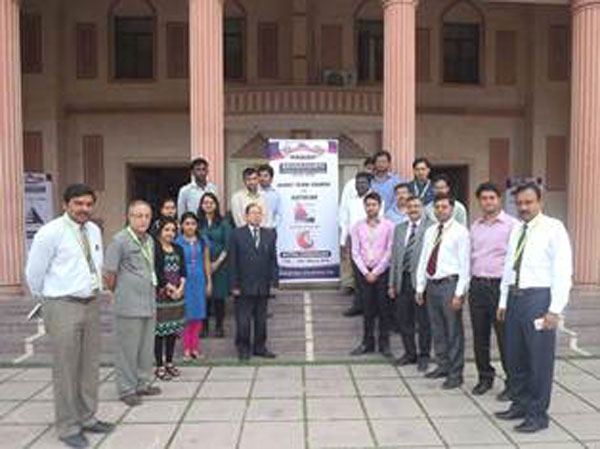
A Faculty Development Programme on AUTOCAD was conducted by NITTTR, Chandigarh during March 14th, 2016 - March 18th, 2016 with an objective to cover up the basic features and functionalities of AUTOCAD tool by focusing primarily on 2D drawings and 3D modelling. The FDP was organized at Dronacharya Group of Institutions, Greater Noida through ICT. The workshop was attended by faculty members of Mechanical Engineering and Civil Engineering. Prof. D. V. Bhise, HOD (ME) was the convenor of the workshop. The workshop was coordinated by Ms. Gargi Amoli, Assistant Professor, Computer Science & Engineering.
|
| |
NITTTR, Chandigarh has been offering faculty training programmes in a wide variety of areas. Dronacharya Group of Institutions, Greater Noida is one of the network centres of NITTTR, Chandigarh. In every quarter of the year, a number of ICT-based NITTTR workshops are organized on the various domains of Science, Engineering and many other departments. The objective of these short-term training programs is continued renewal and growth of the faculty in all facets of their professional lives. The workshops provide resources which help faculty to improve their performance in the classrooms and to achieve maximum effectiveness. |
| |
Day 1: March 14, 2016
The event was inaugurated by Dr. Sunil D Jassal, Course Coordinator (AUTOCAD), NITTTR Chandigarh and Dr. S. S. Dhami, Head of the department of Mechanical Engineering, NITTTR, Chandigarh. Dr. Dhami stated the objectives and the schedule of the event. |
| |
Dr. Jassal initiated the lecture with introduction to AUTOCAD. AUTOCAD is a computer-aided drafting software program used to create blueprints for buildings, bridges and computer chips, among other things. Since its original release in 1982, AUTOCAD quickly became the most widely used CAD program in the world because of its robust set of automated drafting tools and features. AUTOCAD allows the user to visually design and explore the conceptual design ideas, modify the designs using 3D free-form design tools, generate intelligent model documentation, transform the designs into 3D renderings, and turn them into cinematic-quality animated presentations. Individuals who work in or are currently pursuing careers in the architecture, mechanical or engineering fields will discover many benefits of using AUTOCAD. The design aggregation and documentation tools built into AUTOCAD not only maximize productivity but also help to streamline the design and documentation workflows, speeding projects from design to completion while automating the tedious drafting tasks that would normally be done by hand. He discussed the process of setting up the drawing environment. He stated that the drawing units indicate metric unit in pop up window at start up. He then introduced absolute coordinate system and relative coordinate system. He stated that Object Snap settings make it easier to select 2D. |
| |
Mr. Hridaya Pal Singh, AUTOCAD Expert who has industrial experience in the technology familiarised the participants with the basic commands for constructing a 2D figure. He gave a demonstration on drawing a line on AUTOCAD Architectural Desktop 2.0. He showed how to give the command line and to specify the first point. He used the format command and then selected the angle type and precision. He then showed how to give coordinates in absolute coordinate system and in relative coordinate system. Mr Singh then demonstrated how to draw circle. He drew radius circle specifying centre and radius. He showed how to make 1 point, 2 points and 3 points circles. He then showed how to make tangent-tangent-radius circle and tangent-tangent circle. He further demonstrated the construction of 1 point, 2 points and 3 points arcs by giving start point, centre point and end point. Mr Singh then showed how to draw polygons. He used the polygon command, then specified the number of lines, centre and then selected inscribed-in-circle option and then for another polygon he selected circumscribe in the circle option. He further demonstrated the construction of a figure using the polygon command with different options. Mr Singh concluded the session with a suggestion to download AUTOCAD from AICTE website for hands-on experience. |
| |
Day 2: March 15, 2016
Dr. Sunil D Jassal, NITTTR, Chandigarh initiated the second day session with the introduction to 2D Cartesian Coordinates. He discussed the DONUT Command. Donuts are filled rings or solid-filled circles that are actually closed polylines with width. The DONUT Command creates a filled circle. Inside diameter and outside diameter are the prompts that are received. He then demonstrated how to draw doughnuts by giving the command doughnut. He showed how to erase the objects from the drawing window. User can erase every object on the window using ALL parameter. User can also undo the erase action by using UNDO Command. User can erase selected objects by specifying the corners of the erase window. He further discussed about ellipse. When a user draws an ellipse, its shape is determined by two axes that define its length and width: the major axis and the minor axis. He illustrated two different ellipses created by specifying axis and distance. Ellipse command creates an ellipse or an elliptical arc. The command prompts for axis endpoint. Ellipse can also be created by rotation method and so can be an arc. He then demonstrated the procedure to draw an ellipse. In the draw command user needs to give ellipse command and then specify endpoint of the axis. The objects can be trimmed using TRIM command in the modify command. |
| |
He demonstrated the use of break command. He first drew a line using line command and then in the modify command he selected the break command and then specified the first break point and the second break point. After that Mr. Hridaya Pal Singh demonstrated the FILLET Command. He then demonstrated how to make rectangle using FROM command. He discussed about the OFFSET Command. He further demonstrated the construction of various figures using the FROM Command and OFFSET Command. Mr. Singh gave an introduction to arrays. He discussed how an array of objects can be created using the ARRAY Command. He showed the construction of arrays like polar arrays and array path. He then demonstrated the construction of various figures using different types of arrays. Also, he explained CHAMFER Command that creates a chamfer between two non-parallel lines or any two adjacent polyline segments. Various examples were given to get an insight of application of these commands. Mr. Singh concluded the session by addressing the queries of the participants. |
| |
Day 3: March 16, 2016
Dr. Sunil D Jassal, NITTTR, Chandigarh initiated the third day session with the introduction to layers. User can organize objects by function and to assign default object properties including colour, line type and line weight to each layer. Mr Hridaya Pal Singh demonstrated the usage of layers on the AUTOCAD tool. He drew a circle with the CIRCLE Command and a rectangle using RECTANGLE Command. He then used COPY Command to in order to make few copies of the figure. He demonstrated the MOVE Command. Using MOVE Command the object can be moved anywhere. MIRROR Command to create mirror image of an object by specifying first point of mirror line. He discussed the ROTATE Command in which the user needs to specify the rotation angle. He then showed how to make patches using PATCH Command. The user can select any of the patterns specified in the properties of pattern. Similarly the user can pick a colour for the pattern and can change the angle and distance between the patterns as well. He further demonstrated the construction of a figure using CIRCLE, LINE, ARRAYPOLAR, MIRROR, TRIM and COPY commands. |
| |
Day 4: March 17, 2016
Mr. Hridaya Pal Singh initiated the fourth day session with the demonstration of construction of a figure with ARRAY and ARC Commands. He showed how to change dimension style. Next, he started with 3D drawings. He gave a formal introduction to 3D drawing He discussed how to create a cylinder. He discussed the PLAN Command that creates a plan. He then created a circle and then used EXTRUDE Command and specified the height of extrusion. He then used SUBTRACT Command and selected the object to subtract. Next there was a discussion on INTERSECTION Command where in the intersection of the object remains and the rest is removed. Further he showed the construction of a cylinder. The positions of the cylinder were changed using position options within geometry section in the properties. |
| |
Mr. Singh discussed ELEV Command. To demonstrate the command he first created a rectangle and used the ELEV Command to change the elevation. He then constructed a 3D figure. First he created a 2D figure using LINE, ARC and CIRCLE. He used RECTANGLEARRAY Command to create an array of circles. He then used EXTRUDE Command. He used SUBTRACT Command to remove the objects which were not required. In order to get different view of the figure in the VIEW Command respective view mode can be selected. Next there was a discussion on User Coordinate System. He then discussed REVOLVE Command. In order to demonstrate it he first drew a figure and performed the rotation action using the command. Mr. showed demonstration of commands like LOFT and ZOOM. He created a helix using HELIX Command. He used SWEEP Command and selected the object to sweep. He then discussed the usage of orbit toolbar. He further showed how to scale a line. Mr. Singh also gave an insight of THICKNESS Command that finds applications in making walls. The last command of the day was LOFT Command that creates a 3D object between several cross sections. Mr. Singh concluded the session by answering the queries of the participants. |
| |
Day 5: March 18, 2016
The fifth day session focussed primarily on Parametric Designing. Mr. Hridaya Pal Singh initiated the session with the construction of solid figures. He demonstrated SOLIDEDIT Command and entered the body for editing. While using BOX Command, users need to specify the corner and height of the box. Then there was a discussion on 3D operations. He showed how to perform various 3D operations. Mr. Singh demonstrated constructing 3D arrays using 3D ARRAY Command and specified the distance, rows and levels. He further showed the working of MIRROR 3D Command for which he first created an object and then created its mirror image using the command by selecting the object and making its mirror plane. Next there was a discussion on PRESSPULL Command in which the user needs to select an object and the point for the pull. He demonstrated the PLINE Command. He further showed how to add visual styles to an object. The next part of the session focussed mainly on the construction of complex 3D figures. He showed how CHANGE Command can be used to change the elevation of an object. He then demonstrated the UCS Command. Mr Singh demonstrated the construction of a house plan. He used various 2D and 3D modelling commands to create the plan. |
| |
The session on Parametric Designing was followed by a valedictory session hosted by Dr. Sunil Jassal. The participants gave their suggestions and feedback of the workshop. Prof. T Bothichandar (ME), Ms. Gargi Amoli (Assistant Professor, CSE) and Mr Gaurav Siwal (Assistant Professor, ME) from DGI, Greater Noida gave their suggestions and feedback. |
| |
The session concluded with vote of thanks from Dr. Jassal and Mr. Hridaya Pal Singh. All the sessions of the workshop had been very fruitful and interest-arousing. |
| |
| |
| |
| |
| |
| |
| |
|
|
|
| |
|
|
|
| |
|
|
|
| |
|
|
|
| |
|
| |
|
| |
|
|
|
|
|
|
|
|
|
|
|
|
|
|
|
|
|
|